
Last Updated on October 14, 2022 by admin_hunter
A survival knife should be a part of any hunting or camping emergency kit. And like most products you need to know how to maintain a survival knife so that it’s sharp enough for when you need to use it.
In this article, we will give you a complete guide on how to sharpen your survival knife correctly. Keep in mind that knives are made from a variety of steels so ensure you use the correct products to sharpen your blade. To find out how to maintain your blade, keep reading.
Whetstones and How to Use Them
Whetstones are natural or synthetic stones used to sharpen knives. They are made from various materials with different grit levels.
Sharpening a knife on a whetstone requires you to run the sides of the blade back and forth over the grit until the edge becomes sharp and polished. To sharpen your blade, you’ll need to purchase a quality whetstone. So what should you consider when buying a whetstone? Let’s take a look.
Size of the Whetstone
Select a stone that is the correct width and length. You can’t use a small whetstone for a large survival knife, so always ensure you purchase a size that you can work with.
There are different size whetstones for various applications. You can purchase a 6″ whetstone to sharpen kitchen knives. But for a survival knife, you should buy a whetstone that’s at least 8″ to 10″.
3 Types of Whetstone
If you’re looking for a whetstone to sharpen your hunting knife you’ll have a choice of three variations. Let’s go through them to see which one will be suitable for sharpening your survival knife.
Ceramic stones
Ceramic is extremely dense and it will last you many years because of its durability. A ceramic stone is as close to natural whetstones as you can get but you don’t need any lubricants such as oil to sharpen your blade.
A ceramic stone sharpens blades fast because it’s so dense you can use it to restore the edge of blades made from harder steels. You can use it to sharpen your steel tools as well as your survival knife and it will make quick work of it, too.
Oil and water stones
An oil stone needs a splash of lubricant to effectively sharpen and hone a dull blade. The oil ensures that the residue from the blade is removed every time you sharpen your knife’s edge.
Water stones are the same but they will need to be soaked in water before you can use one.
Diamond stones
Diamond stones are made with two plastic plates with a diamond-shaped sharpener integrated into the middle.
Diamond stones have become popular in recent years. More people are steering away from traditional sharpening techniques by using a diamond stone, because it’s easier and less messy.
All you have to do to sharpen your blade is slot the knife in between the diamond-shaped application and pull the blade through. It will sharpen both sides of the blade simultaneously.
What About Whetstone Grit?
A whetstone will typically come with a number printed or etched on it. This number represents the coarseness of the whetstone’s surface. The lower the number the coarser the whetstone will be.
Whetstones have either a coarse, medium or fine grittiness to them and each of these surfaces has a different purpose in the sharpening process.
A whetstone with the highest coarseness is designed for extremely blunt or damaged blades. Medium whetstones are basic applications used for general sharpening purposes. It’s best to use a medium whetstone for regular knife sharpening.
Fine whetstones are used to achieve a refined edge.
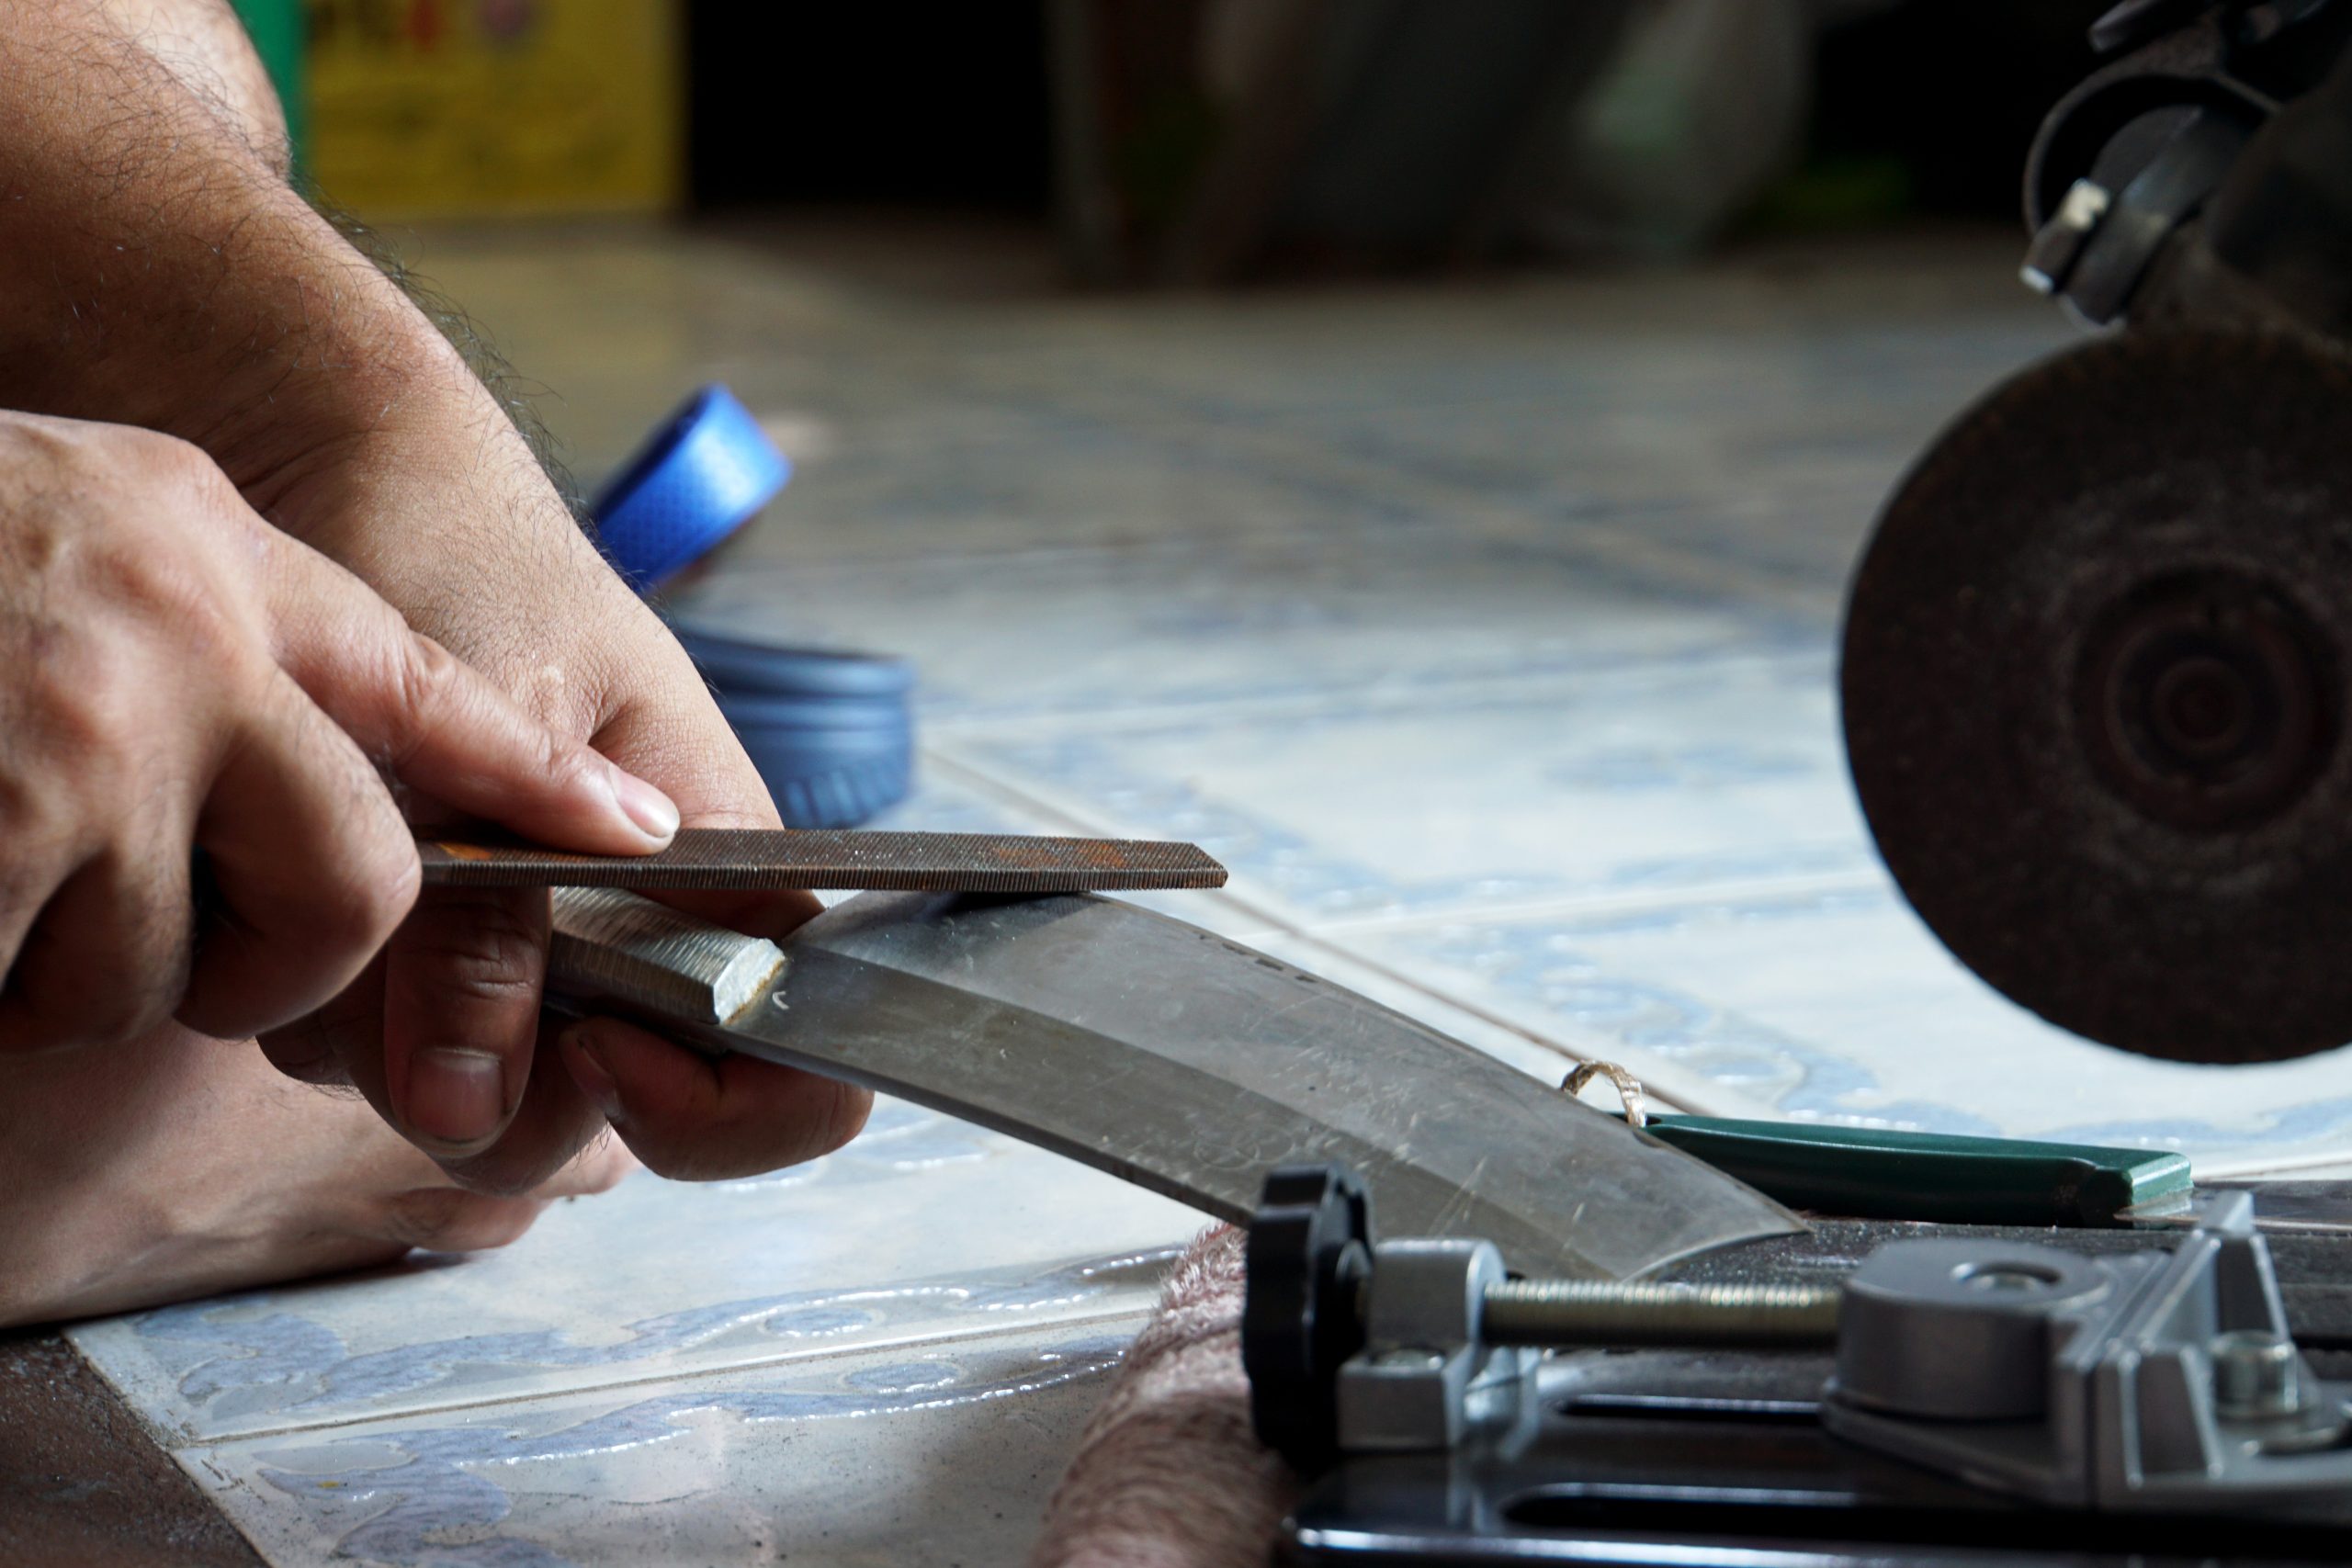
How to Grind your Blade
For the purpose of this guide, we will give you the traditional way to sharpen your survival knife. You will need a Japanese water stone, a Nagura stone, a bucket of water and your survival knife.
Step 1
Fill your bucket with water. Then submerge your Japanese water stone in the liquid and leave it to soak for five to 10 minutes.
Step 2
The water prevents the pores of the Japanese stone from clogging with pieces of metal while you’re sharpening your blade. Water also helps to lubricate the blade, so it runs smoothly across the stone.
Now remove the stone from the water.
Step 3
Place your whetstone on a flat surface and use your Nagura stone to rub the surface of the whetstone. The Nagura stone is used to condition the surface of your whetstone and it will leave an abrasive paste behind to quicken the knife sharpening process.
Step 4
The next step is to position the knife correctly on the stone so you can start sharpening it.
Hold the handle and place two fingers near the point of your blade. Place the blade flat on the stone with the back of the knife facing you. Carefully tilt the blade towards the whetstone so the edge is flush with the surface of the stone.
Step 5
Hold the knife firmly in place while you push the blade along the surface of the stone and remember to always keep it flat. As you get towards the end of the whetstone, make a round motion and slide the blade off the edge so you can sharpen the tip of your knife.
Step 6
If the stone gets dry, simply splash more water onto the stone to lubricate it.
Step 7
Check the blade to see where it’s polished to ensure you’re sharpening it at the correct angle.
Step 8
To sharpen the other side of the blade simply place the edge of the knife at the bottom of the stone and run it on the surface of the whetstone by sliding it towards you.
Step 9
You can polish and refine the edges of your blade using a finer grit whetstone once you’re finished sharpening.
Final Thoughts
You can use the same sharpening technique using an oil stone and a ceramic stone. Ensure that your blade is always flat on the surface of the whetstone and you use controlled motions to sharpen the edges. Repeat the sharpening process until you’ve achieved the knife-edge you want.