
Last Updated on October 7, 2022 by admin_hunter
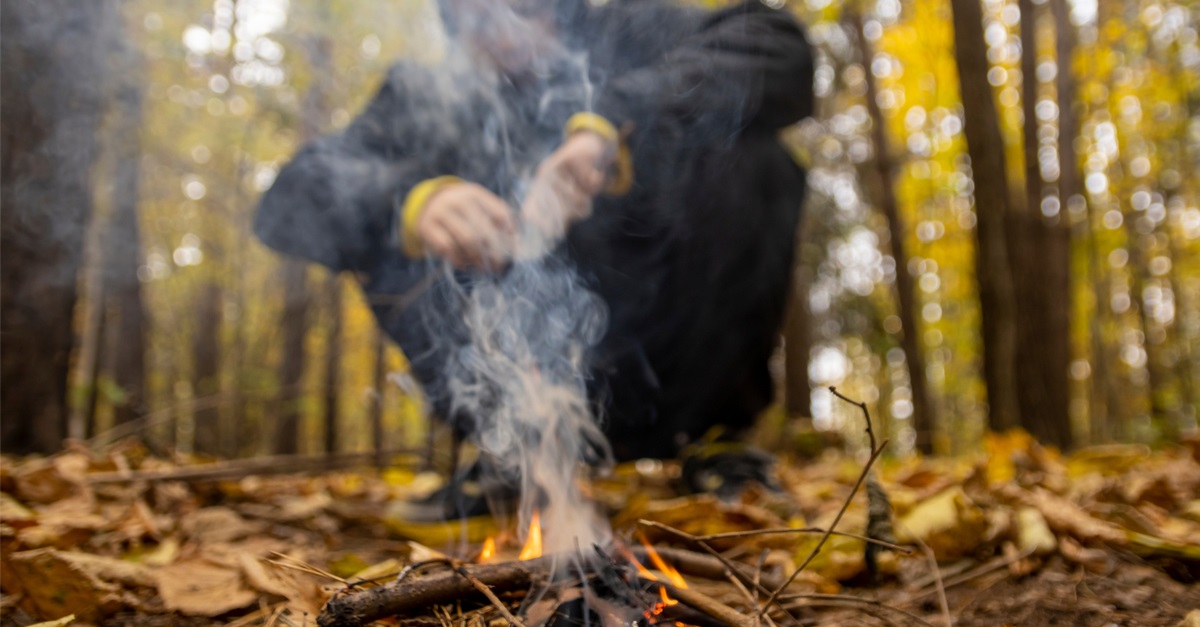
Whether you’ve been trained in the scouts or not, you must know a thing or two about survival. One of the most well-taught yet underrated survival skills is making a fire. But, there are still a few people who are unaware of how to make a fire with sticks. This essential skill should be learned because it can save your life.
Not all the time you carry a box of matches or lighters with you. That is why you need to learn how to start a fire from scratch – without anything but nature. This is most useful not only when out camping or hiking, but also in moments when you need some warmth. It might be a challenge to start a fire without anything but sticks. Rest assured, however, that you can do so with the right knowledge and some practice.
Before Starting a Fire
You cannot just start a fire without knowing your surroundings. Otherwise, you may cause a sudden fire outbreak that can further jeopardize your safety rather than save you. When starting a fire, it is vital to remember these things:
Choose a Safe Location
Build a fire in a safe place that keeps a good distance of about 6 feet or more from bushes, plants and trees. This will ensure that you won’t cause bushfires. Also, make sure that the ground is bare and does not contain any dried leaves, twigs and other hazards. The ground should not be covered with grass that can catch and spread the fire. If there is no bare area in the ground, remove plants away and dig a spot for a fire. Create a stone fire enclosure to keep the fire from spreading as well.
Prepare Your Materials
- Lightweight materials such as wadded paper, wood shavings, dry leaves or bark. These materials help you start a fire easier. You can also purchase ready-made tinder for fire starting kits.
- When preparing how to make a fire with sticks, make sure to have kindling in your arsenal too. These are medium-sized sticks that easily catch fire as they encounter lighted tinder. You can look for kindling in your surroundings. Branches and twigs that measure around 0.5 inches in diameter work well for this purpose. Also, make sure that the kindling is dry. Otherwise, you will have a hard time lighting it.
- Wood Log. The sizes of firewood vary depending on what you have available. It does not need to be the same size, but the best firewood ranges from 1 to 5 inches in diameter. It needs to be big enough to keep the fire burning. If you have large firewood, you may still use it. As a matter of fact, it can last for a long time once it starts to burn. However, if you are still starting a fire, a big one is not advisable since it takes a long time to combust.
How to Make a Fire with Sticks Using a Hand Drill Method

The hand drill method is the most traditional way of making a fire. You need to learn this because knowing how to make a fire with sticks is one of the 5 basic outdoor skills needed for survival.
A hand drill method is the simplest way to start a fire with sticks too. In this method, you only use friction to produce the heat. Though the method of hand drill is simple, it takes patience and hard work to light a flame. Thus, many people tend to give up on this one. But, that once you know the mechanics and you practice diligently, you will be able to light a fire in no time.
So, how to make a fire with sticks using this method? Let’s find out.
- Look for a dry piece of stick (hand drill) about ½ to ¾ inch in diameter and 1 to 2 ft in length. Cut a V notch in one end of the stick for oxygen to flow through, which is essential to keep a fire going. The wider end of the stick is used to generate friction against a fireboard. The rough spots on the wood need to be scraped and smooth. Each end should be rounded. And the thicker end needs to be pointy to ensure that it can build friction against a fireboard.
- The fireboard, on the other hand, needs to be around ½ inch thick and 2 times wider than the thickest part of the hand drill. It needs to be flat on one end so that it won’t quiver. Suggested woods for the best fireboard are basswood, weeping willow, and cedar. Drill holes around 1/8 inches deep and ½ inches wide. Then, create an incision at the edging of the board at around 45 degrees. The incision should not be too big because it won’t create friction. Place dry leaves or bark under the fireboard. This will help keep the board dry from the ground’s humidity. Also, place a small wood under the incision to pick up coal.
- Using your knee or foot on the board, twist the drill on one hole to create a deeper hole. You might need to exert extra pressure and force to do this. While still keeping the position, hold the drill between your hands tightly. Spin the hand drill to and fro while pinning it down in the fireboard. Your hands should move up and down the drill. This movement generates heat and dust to produce coal. As you reach the drill’s bottom, move your hands back to the top and spin again. You can spin faster so as not to lose the momentum and the heat.
- Repeat Step 4 until smoke emancipates. Do not stop at the first sign of smoke, just continue with the step. You can also see a lot of dark brown dust from the incision point. When this happens, drill faster so that dust accumulates in the incision. A lump of coal will form a few seconds after you stop drilling if the dust is still smoking. If no smoke is coming out from the dust, you have to drill again to set it on fire.
- The dust should glow and smoke for a few seconds. Leave it as is before tapping the fireboard. Gently lift the board away to show the coal. Then, carefully add tinder on top of the coal and close it. Blow on the tinder gently until it catches fire.
- After which, you can add kindling. As soon as you have established the fire, you may add the wood logs to create a bigger flame.