
Last Updated on December 30, 2022 by admin_hunter
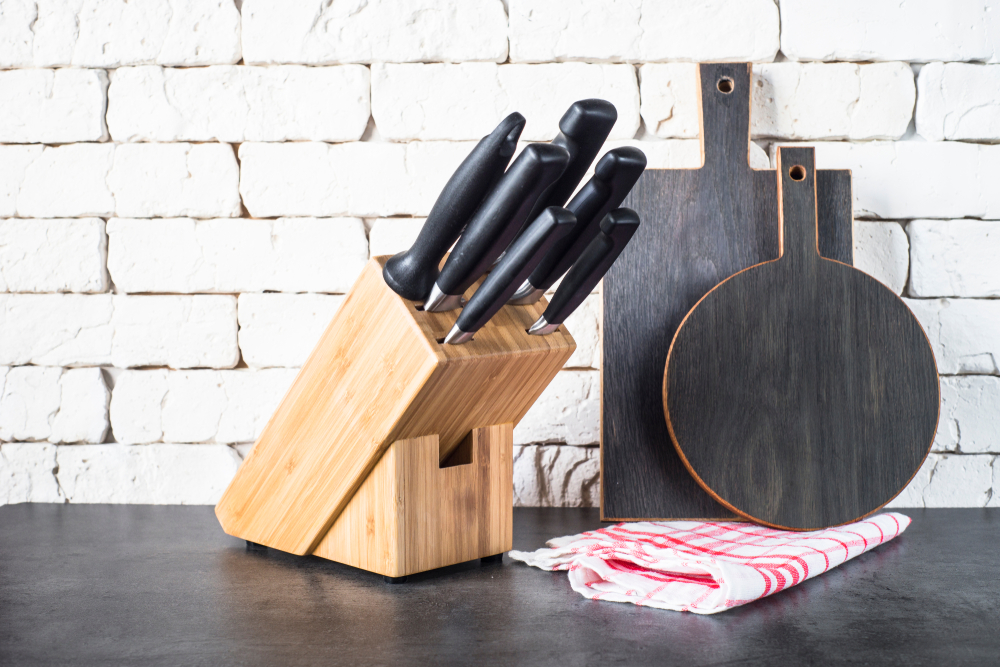
If you’re a professional chef, a beginner or just enjoy the culinary arts, a kitchen knife kit may be right for you. With the kit, you’ll have the tools you need to sharpen your knives, repair your blades and replace lost or damaged ones. Plus, you’ll be able to add your own design to your handle and create your own custom knife.
Sharpening often and lightly
In general, you should sharpen your knives every six to twelve months. But, if you use your knives frequently, you may need to hone them more often.
The best way to keep your knives sharp is to store them in a safe and dry place. Also, washing your knives with a dish brush is an effective way to maintain them. If you don’t have the time to sharpen your knives yourself, you can hire a professional to do the job for you.
When you want to reshape the edge of your knife, you can use a sharpening stone or a leather strop. These can be made of butcher’s steel or have an abrasive layer applied to them.
To reshape the edge of your blade, you should make four or five strokes on each side of the blade. Holding the tip of your knife at a 15-degree angle, sweep the edge of the blade along the steel. You should repeat this process at the same time on both sides of the blade.
You can also use a steel honing rod, which will push the edge of your blade back into alignment. However, you should be careful not to apply too much pressure. A honing rod will remove microscopic metal bits from the edge of your blade.
Before you use a sharpening stone or strop, it is important to clean your blade. This will help prevent dirt and grime from collecting and clogging the pores in the stone or strop.
Serrated edges help cut tough foods
When you are searching for the best kitchen knife kits, you should check out the serrated edges. These knives will help you cut tough foods. But, what exactly are serrated edges?
The edge of a serrated blade starts out as a straight line. As the serrations move, they become sharper points. This allows the blade to pierce through the outer crust of food. It also helps reduce friction between the blade and the food.
Serrated knives are used to cut through tough outer layers of foods, like bread, meat, or even vegetables. Because they do not compress the soft interior of the food, they are ideal for slicing thin slices. They are also perfect for cutting cakes, pies, and other delicate items.
However, when using a serrated knife, you should be careful not to get the serrated edges snagged. This could lead to tearing. In addition, you should never store your serrated knives loose in drawers. Instead, keep them in a magnetic knife holder.
Another thing to keep in mind is the thickness of the serrated blade. Thicker knives tend to produce uneven slices. Generally, thinner blades will produce straighter slices. You may want to try sharpening your blades with a conical file.
Finally, make sure that the serrated blade you buy is made of high quality stainless steel. These knives have a harder edge, which will hold up better over time.
Creating an even bevel
When building a non-organic model, bevels add realism. Using a file or other simple tool, you can create a bevel that is smooth and flat. In addition, it can prevent metal from being damaged.
A bevel is a rounded edge that is close to the edge of a blade. It can be a convex or concave shape. The size of the bevel should be as small as possible. Some knives are beveled only on one side. This can make making super-thin cuts easier.
Another method is to grind a bevel in wood. It can be a quick and easy way to adjust the width of your bevel. You can also use a bevel jig to secure your blade in the desired bevel position.
The bevel jig can be adjusted to a variety of angles. If you are unsure of how to set the angle, consult a steel protractor. Having the correct angle can ensure that you are able to cut an even bevel on your next knife.
Creating an even bevel with a knife kit is not as complicated as you may think. One of the more obvious tricks is to use a bevel jig. To do this, simply slide the blade into the jig and lower the jig towards the spine of the blade.
Once the bevel is sharpened, you should polish the edge to a bright strip of polished metal. You can do this by using a microbevel.
Gluing knife scales to tang
The best way to glue knife scales to tang is to take the time to do it right. By using the right glue, you can keep your handle from wobbling or slipping. It also helps to choose the right epoxy for the job.
Gorilla Glue is the best choice for a knife if you’re in a hurry, but if you want a long-lasting hold, try Bob Smith epoxy resin. This is a commercial grade, food-safe epoxy that offers a robust bond and is suited for high temperature applications.
Another good choice is JB Weld, a cold weld epoxy that makes for a durable, solderless guard for hidden tang designs. You can find it at your local auto supply store.
In addition to being able to attach your blade’s handle to the tang, this glue is also a great way to keep your handle clean and free of grease. Epoxy is also great for cleaning knives. Using an alcohol-based solvent such as rubbing alcohol can help remove dirt and grime from your handle.
For best results, use a heavy-duty tabletop vise when making your pins. Having a small sanding block on hand can make quick work of sanding the edge of your handle.
One last thing to note: a bolster can be a handy tool to strengthen weak points on a knife. If you don’t have a bolster, you can use a piece of plywood to keep the wooden scales from denting or scratching.
Installing a handle to your design
There are a number of ways to install a handle to your knife kit design. Whether you choose to use a pre-machined blade or make one from scratch, there are plenty of ways to do it.
Choosing the right materials for your handle is an important decision. You need to consider whether the material is for durability or aesthetics. In terms of durability, plastic is a good option. However, if you’re making an outdoor knife, titanium is a great material to go for. It is lightweight and resists rust better than most other materials, making it an excellent choice for showpiece knives.
While you’re at it, you might also consider making the handle from recycled HDPE bottles. This is a low-tech solution, but it has its merits.
Another option is to use epoxy grout. Unlike glue, it will hold up to the weather and is relatively inexpensive. The main downside is that it must be left to dry for at least five minutes.
If you’re considering a more sophisticated handle-making process, you might want to consult an expert. One of the more advanced techniques uses threaded fasteners to connect the parts together.
Regardless of your chosen method, the most important thing to remember is that you should practice. Aside from making sure your finished product is solid and functional, you should also think about the design and symmetry of your blade.
Cutting with a heat treat oven
One of the most important parts of knife making is the heat treatment of the blade. This process hardens the steel and makes it more durable, thus making it more flexible and able to withstand forceful use. If not properly treated, a knife will not hold its edge and it may be too brittle to be useful.
To heat treat your blades, you need to select a method for heat treating that will work for you. You can choose to heat treat your blades in your own oven, or you can send them to a commercial heat treating company.
In general, the easiest way is to heat the blades in your own oven. However, it’s recommended that you choose a heat treat oven that is capable of reaching the temperature you need. Heat treating your blades with an electric heat-treating oven gives you better control over the temperature and helps keep your blades more consistent in hardness.
Using a heat treat oven also allows you to choose the kind of hardness you want your blade to have. There are several types of ovens, from a small one to a large one. Depending on the size of your project, you’ll need to decide on the right type for your needs.
Depending on the type of blades you plan to make, you’ll need to determine the size of your electric heat-treating oven. For longer blades, you’ll need to choose a larger model.