Last Updated on December 6, 2022 by admin_hunter
Have you ever wondered how to make arrowheads?
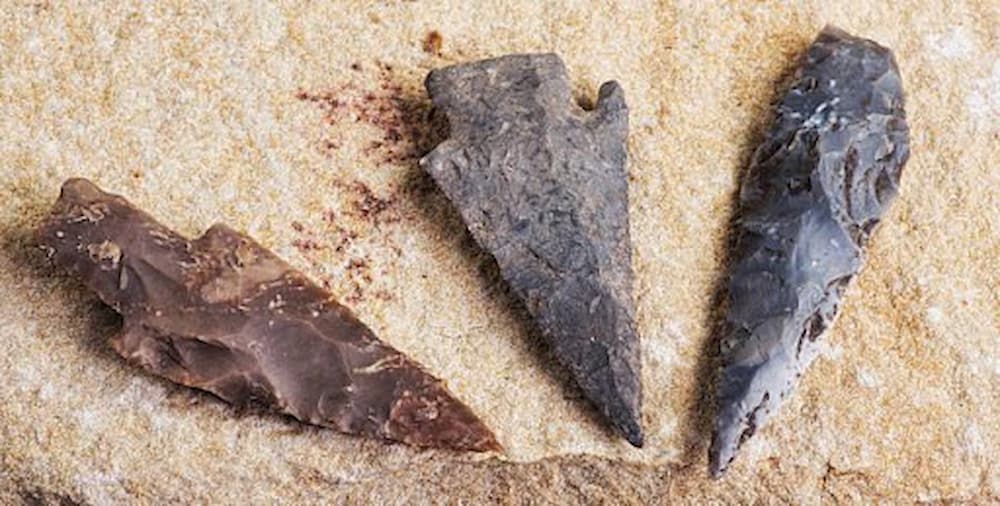
Archeologists have found evidence of flint-knapped arrowheads and spearheads in just about every region on earth. This vital survival skill helped our ancient ancestors hunt for food and defend themselves for thousands of years.
While flint knapping arrowheads may seem like a dated and irrelevant skill, knowing how to make arrowheads can be useful in modern-day survival situations. Having the ability to make arrowheads, spearheads, and basic cutting tools from supplies that are plentiful in the wilderness can be life-saving if you are trapped in the wild.
Not only is it a valuable technique to know for survival purposes, but learning how to make arrowheads the traditional way is fun. It can be an exciting hobby and something you can even teach your children when they are old enough.
So, if you are ready to learn the ancient art of flint-knapping arrowheads, let’s get started!

What Is Flint Knapping?
Essentially, flint knapping is a process where a piece of rock, typically flint, is shaped by carefully striking it against an object, such as a chisel. It is a controlled process that can create a razor-sharp edge when someone does it with skill and experience.
While it is possible to flint knap without tools by simply striking your core material, or flint, against other rocks, it is usually completed using tools. While there are modern flint knapping tool kits that consist of metal chisels with gripped handles, you can also flint knap using pieces of bone, antler, and other natural materials.
If you would prefer to purchase ready-made flint knapping tools, we recommend visiting Flint Knapping Supplies LLC, which offers a wide array of tools and tool-making kits.
How to Make Arrowheads Using the Art of Flint Knapping
Now that you know a little bit more about flint knapping, we can get into our breakdown of how to make arrowheads using flint knapping.
1. Practice Safety Precautions
The first step in making stone arrowheads is acknowledging the fact that the flint knapping process can be dangerous. Since flint knapping involves breaking apart solid rocks with force, sharp flakes can fly in every direction.
This is why we always recommend wearing some form of eye protection while you are flint knapping. You should wear thick gloves, pants, and shoes or boots if you can. While these safety precautions may be impractical in a survival situation, they should be employed whenever you have the chance.
You also want to try your best to control where the sharp pieces of flint flakes land, as they can cause severe injuries if a person or pet accidentally stands on them. Try putting down an old towel or tarp and sweep up the debris when you are finished.
2. Choose the Right Materials and Tools

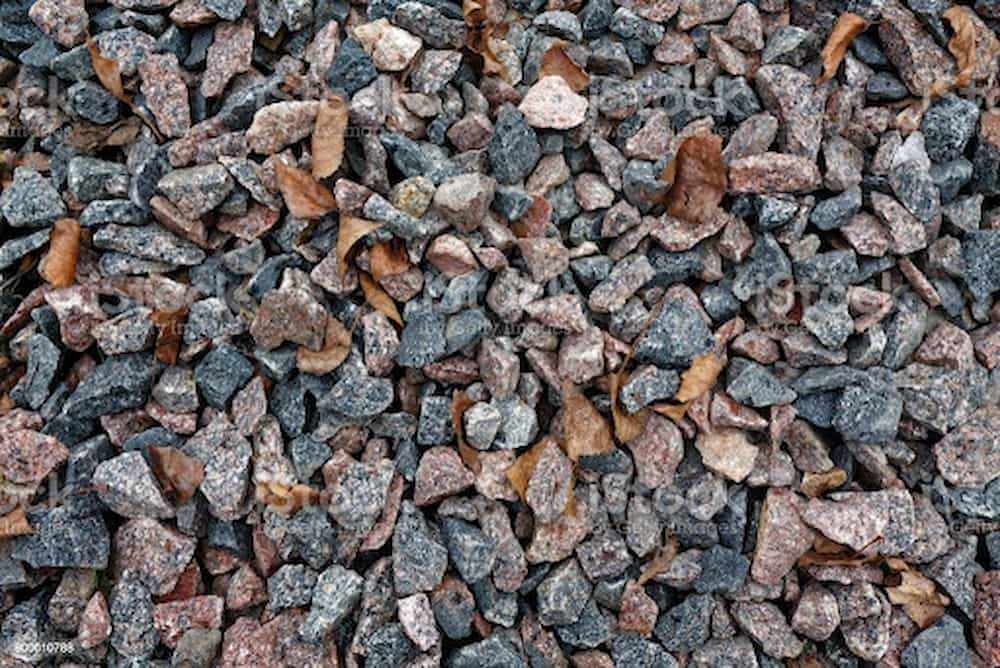
While flint is the obvious best choice for flint-knapping arrowheads, you can also use other types of stones, like chert, obsidian, jasper, and quartzite. If you do not know much about the different types of rocks, look for stones that seem somewhat brittle and have a uniform texture that is crack- and fracture-free.
If you think you have found a good stone, lightly tap it against another. It should produce a somewhat high pitch rather than a dull thud. This means it is more likely to split and shard in small pieces rather than simply crack in half.
As discussed above, you will then need flint-knapping tools. While professionally made kits are extremely easy to use, you can also use natural materials, like antlers, animal bones, soft stones, and even hardwood. Read our Step-by-Step Guide to Making Flint Knapping Tools for more information.
You can also make your own flint knapping tools while in the wilderness, but the whole process will be much easier if you have a good knife. If you are looking for a new knife, we recommend reading our guide to the Best Survival Knives for 2022.
We also recommend reading our guide to Surviving in the Wilderness with Just a Knife, as it stresses how important a good knife is whenever you go on any outdoor trip.
3. Begin Flint Knapping Using Either the Percussion or Pressure Flaking Technique
Flint knapping arrowheads can be done using one of two techniques – percussion flaking or pressure flaking. To make things easy, we will discuss both techniques.
Percussion Flaking
Percussion flaking involves striking your arrowhead material in a controlled way to break it apart along predetermined lines. You will want to pad the palm of your hand that will be holding the piece of stone you plan on turning into an arrowhead.
Once your palm is safely padded, you will strike the stone against an edged object. The goal is to create a sharp edge, so you want to split the rounded stone. You can also use a hammer or similar tool rather than holding the stone and smashing it against an angled surface.
Once you have split your stone and have sharp and flat edges, you can use smaller rocks or chisels to shape your stone into more of an arrowhead design. This technique is far less controlled but can be useful in survival situations where time is limited or you do not have the resources to make more complicated tools.
Pressure Flaking
As the name implies, pressure flaking involves shaping your chosen stone using pressure-flaking tools. These are your pieces of bone, antler, or pre-made tools shaped like chisels.
You apply pressure against a specific stone edge and use that pressure to flake off long, thin pieces. You can use this technique to carefully shape your stone into an arrowhead or whatever other type of design you are aiming for.
As you work, you may need to chisel off weak pieces so that your finished arrowhead will be sturdy and sharp.
4. Add Notching to Your Arrowhead

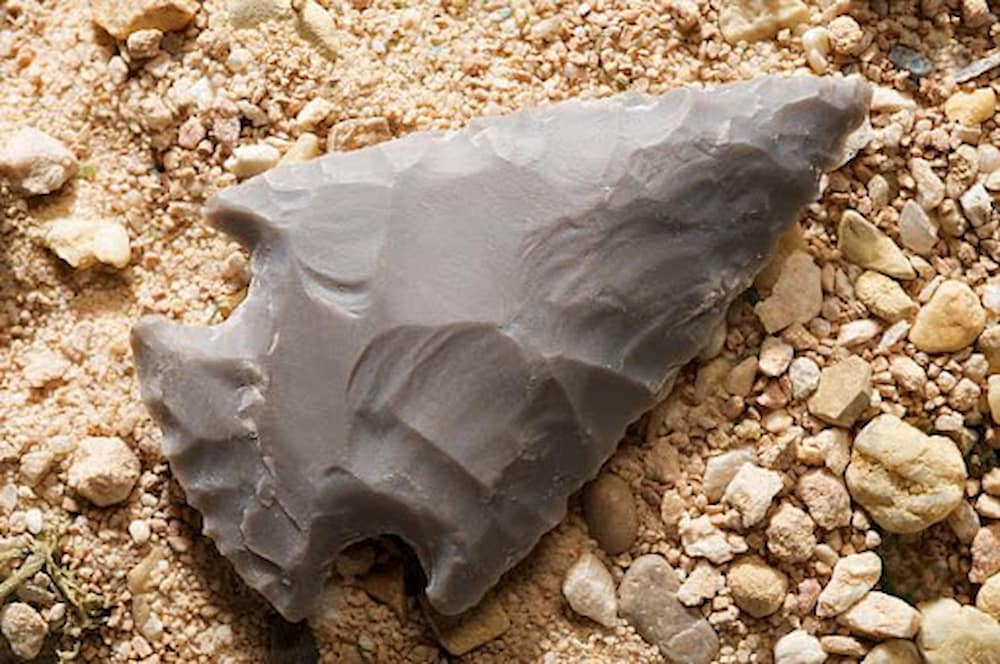
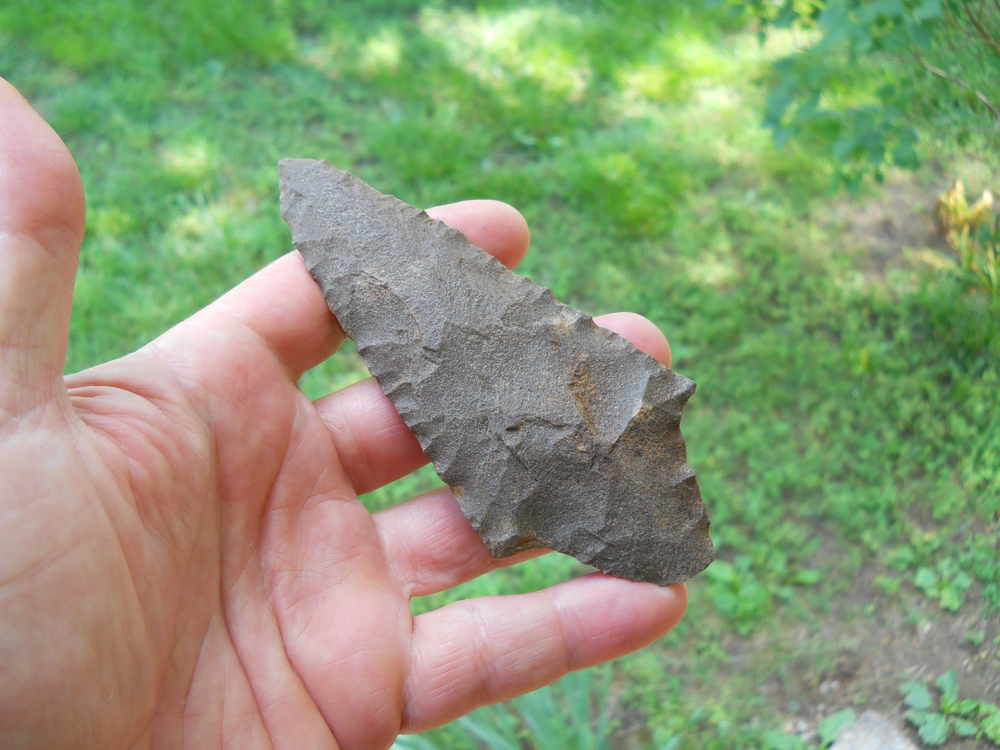
Once you have shaped your chosen piece of stone into a triangular, arrowhead-like design, you need to add notching. The notches will sit at the bottom of your arrowhead, meaning the wide part on the opposite end of the sharpened point.
These notches are where you will attach the arrowhead to your arrow shaft using a paracord, shoelaces, fishing line, or whatever else you have on hand.
You can use either percussion or pressure flaking techniques to create your notches, but be careful, as you do not want to undo all your hard work and ruin your arrowhead at the final step.
Once you have completed the notching step, you have successfully made your own arrowhead using flint knapping. Congratulations! Do not worry if your first few stone arrowheads look sloppy, as you will get better with practice. It is a complex technique to learn, but well worth the time it takes to learn how to do it.
For More Information
If you want more information about flint knapping arrowheads or prefer to watch a video demonstration, we recommend Hunt Primitive’s lengthy and informative YouTube video – Flint Knapping for Beginners.
For a more traditional and historical explanation of the technique, we recommend watching the Cherokee Nation’s outstanding video explanation of the traditional Cherokee technique for flint knapping arrowheads – Cherokee Traditions – Flint Knapping Arrowheads.

